
On the darkest day of the year, a few quick decorated candle ideas you can complete in an afternoon and give as a last-minute gift. The first is just pins and beads and the second is printed tissue to give a decorated surface to the candle. Both look great and you can say you made it yourself!
 Homemade Decorated Candles
Today, candles are a must in any home’s décor. Not only do they add a lovely and colorful touch to the room’s surroundings, they introduce an inviting aroma to the whole house.
In home décor stores you could spend anywhere from $5 to $25 or more on beautiful and unique candles. If you hate to spend that kind of money, but long to have elegant candles in your home, here’s a quick and easy solution. Decorate your own candles for pennies on the dollar! This crafting project will allow you creative leeway and it is a perfect gift idea as well! In only a few easy steps you will be enjoying the glitter and gleam of your own homemade designer candles. Here are three different techniques:
Bead Decorated Candles
You’ll need:
- Small crafting pins (I used small sequin pins)
- Beads
- Plain, inexpensive candles
To get started you will want to choose the candle you will be working with. Find a plain candle in any size, shape and color at a local crafting store or discount retailer. There are literally thousands of options to choose from. You could even pick up a few and make a collection of candles. Next choose the beads you want to add to the candle. There is a wide range of beads to choose from and most come in packages of 20 or more. When purchasing your crafting pins be sure to take note of the size of the hole in the beads you choose. You will need to make sure that the head of the pin is large enough to securely place the bead onto the candle. Packages of crafting pins can also be found at your local crafting store and usually come in packages of 100 or more. These pins come in both silver and gold tones, so you can choose which color best compliments the beads and candle you choose.
- Decide on a pattern that you will be applying to your candle. You can place the beads randomly around the candle or chose a striped (or other) pattern.
- If you decide to create a pattern on your candle, use the point of one of the crafting pins and map out the pattern by making small pin marks into the wax. Not too deep though, you may decide later to change the pattern.
- Using a crafting pin place the bead onto the candle by inserting the pin through the hole in the bead. Press firmly until the pin is inserted entirely into the candle. Due to having to insert the pin all the way into the candle you may want to choose the smallest length of pin that will allow you to place the bead onto the candle.
- Repeat until you have completed your pattern or have placed the desired amount of beads onto the candle. You’re done!
You now have a charming decorative candle for the fraction of the cost! Family and friends will delight in this thoughtful and creative gift.
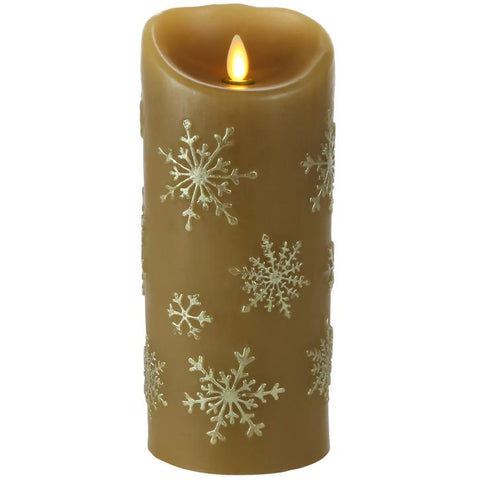
Printed Candles
Make some super easy personalized embossed candles. These are perfect for a personalized gift for Christmas (which is what I made them for a few months ago), or a wedding/anniversary gift or for your girlfriend who loves taking a bath by candlelight.
You’ll need:
- A smooth sided candle (4 to 5 inches tall works best)
- tissue paper (the kind you wrap gifts with)
- gift wrap tape
- card stock
- scissors
- push pins
- hair dryer
- printer
- Cut a piece of tissue paper to be the same size as the card stock, then tape them together around just on the edges. Just 2-3 pieces on each edge will do. Then run it through a printer so you print on the tissue side. You won’t need the entire piece printed, just the size of the candle.
- Next, trim the tissue so it fits just around the candle neatly, then use a pushpin to hold it in place.
- Using the hair dryer, blow directly through the paper towards the candle. You want to slightly melt the wax so that it will grab the paper. It only takes a few minutes and you’ll see the melted wax adhere to the tissue paper. Now you have a custom image on your candle!
These candles burn into themselves, not all the way across, so the flame never meets the paper. As always, never leave burning candles unattended.
Stamp Decorated Candles
You’ll need:
- a fresh, new candle (older ones do not melt as smoothly)
- a stamp
- stamp pad (in your color choice)
- vinyl letters or scrapbook letters
- tissue paper the same color as your candle
- an embossing tool or a hot hair dryer
I tried embossing colored candles and found that they were much more difficult to get a clean professional look because the dye tended to bleed and discolor the candle. So I prefer to use white or cream colored candles.
- Take your letters or picture stamp design and stamp them onto your tissue paper.
- After the ink has completely dried (to prevent smearing), cut around as close as possible to the edges of your lettering or picture.
- Place your tissue paper on the candle exactly where you want it to be. I wet my finger and touched it to the tissue paper in a couple of spots and stuck it onto the candle.
- Then carefully and evenly move embossing tool over the tissue paper. This will melt the candle wax which will then cause the tissue paper to stick to the candle. If you are careful enough this will create a seamless seal and the tissue paper will melt into the candle and appear as if the lettering is directly on the candle.
Pro tip: I would practice on a practice candle several times before doing the final run on your gift candle. This takes a bit of practice so as not to melt your candle too much in different areas.


